The 13 Most Challenging Final Fantasy XIV Bosses
One thing we can all agree on is that Final Fantasy XIV is not lacking challenging content. What we can argue about is what are the most challenging Final Fantasy XIV Bosses. We got raids, trials, and alliance raids of various difficulties.
We’ve picked the encounters that we consider to be the most difficult in their niche.
The Binding Coil of Bahamut Turn 5
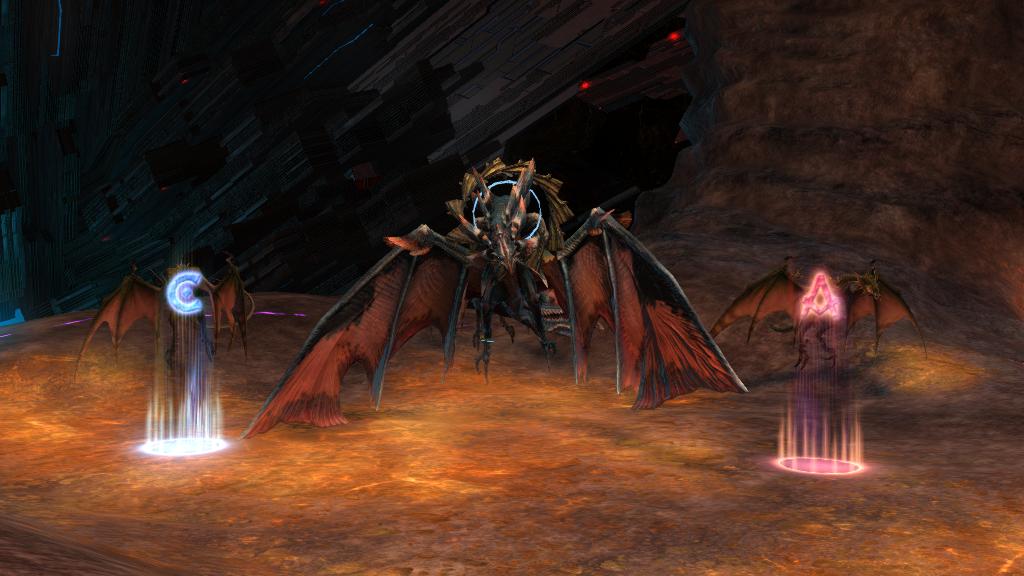
This is one long Final Fantasy XIV fight. Twintania basically transforms players into her punching bags causing them to take lots of damage. The tank buster attack isn’t just an HP drainer, it also places a healing debuff on the tanks. That’s super fun for the healers. This encounter also spoils adventurers with damage puddles without markers, DPS checks, and situations that require positional awareness.
Then Phase III of the fight begins. The group has less than one minute to deal with adds and to get ready for the next boss attack.
The Second Coil of Bahamut Turn 4
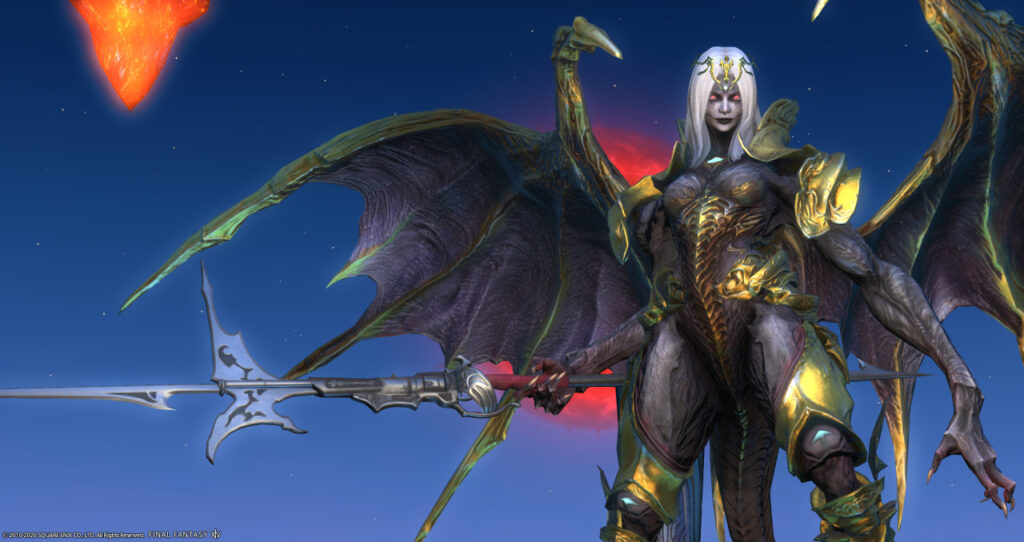
How many deadly mechanics can we fit in one fight? The Final Fantasy XIV encounter designers went crazy with the 2nd Coil Turn 4, also known as Turn 9. There are so many attacks that can kill you and so many things to remember here.
This lovely A Realm Reborn bastion of a fight stood unconquered for almost three weeks before the good people from the Order of the Blue Garter free company managed to put Nael Deus Darnus in his place.
It wasn’t for good as he joins forces with Twintania and Bahamut to torment players once again in Stormblood, the second Final Fantasy 14 expansion. We’ll get to that a bit later.
Alexander Arm of the Father Savage
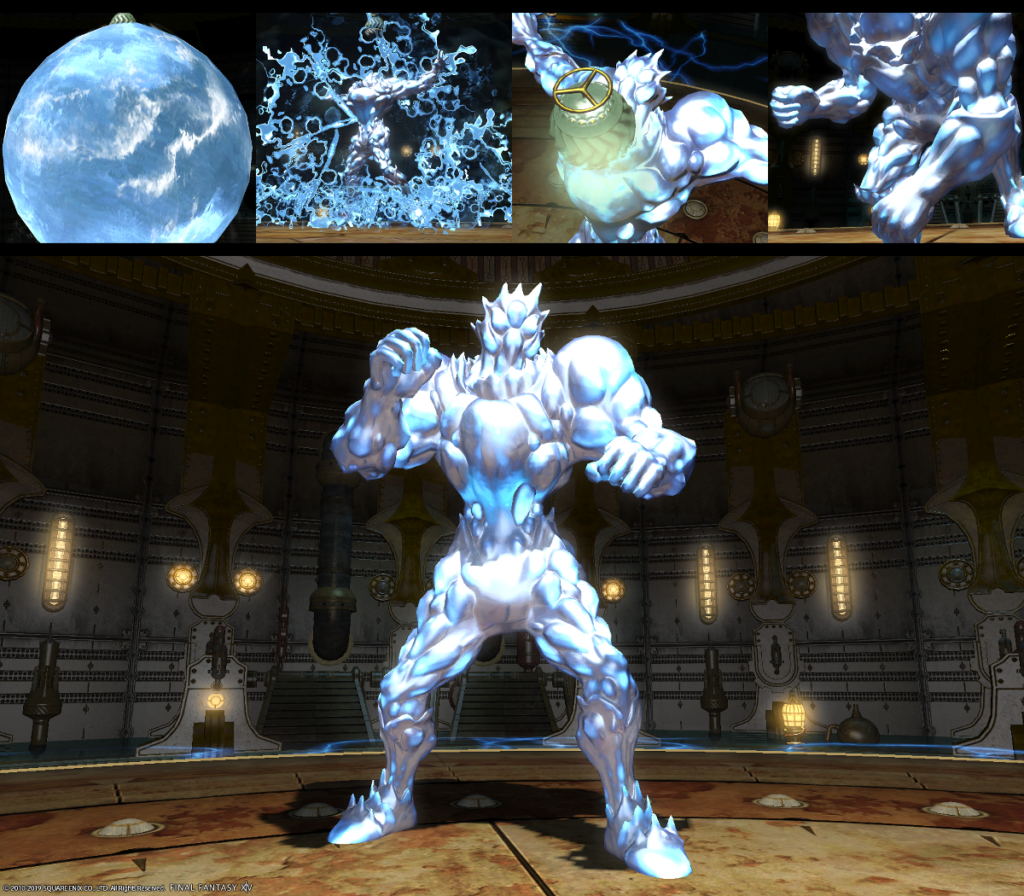
The A3S or Pepsi-Man is a soul-crushing encounter. It requires some planning as players need to know where their designated spots are. Fail to stand where you need to and your HP will take a severe hit. This is a fight with an insane amount of damage so taking as little as possible is imperative.
Speaking of damage, A3S is considered one of the FFXIV fights that tests damage dealers’ skills. The fact that you need to move a lot makes it even harder to dish out decent DPS.
Thordan’s Reign Extreme
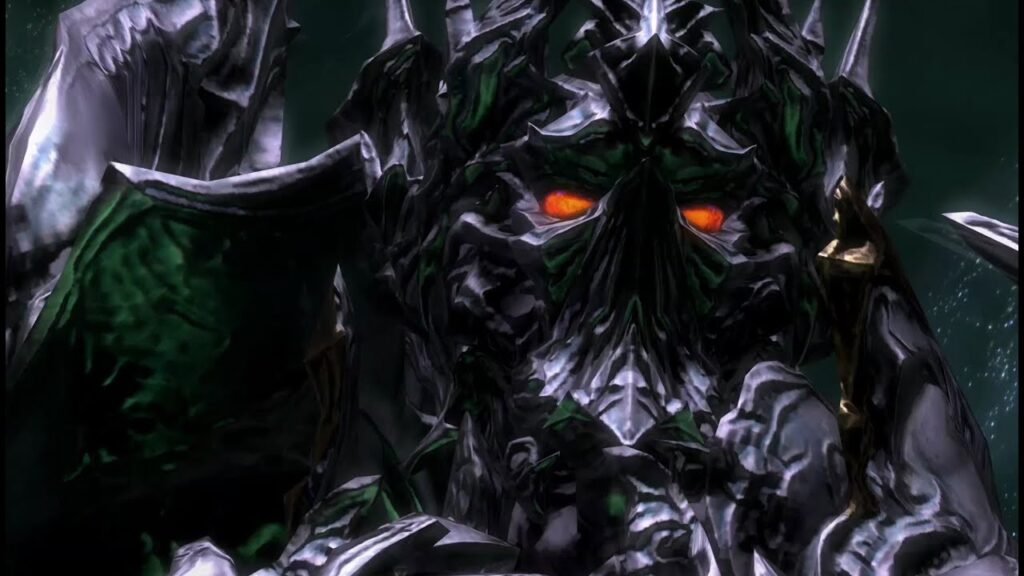
Thordan’s Reign encounter is both about DPS and mechanics. The mechanics get harder to handle as the fight progresses. This means that if the damage dealers take their sweet time, Thordan will take them down first.
If the raid’s DPS is high enough, you can skip certain mechanics. If not, good luck dancing between the many spots on the floor where you absolutely do not need to stand, avoiding the boss’s gaze, switching from one add to another, running from meteors, standing near the towers, and more.
Ozma – The Weeping City of Mhach
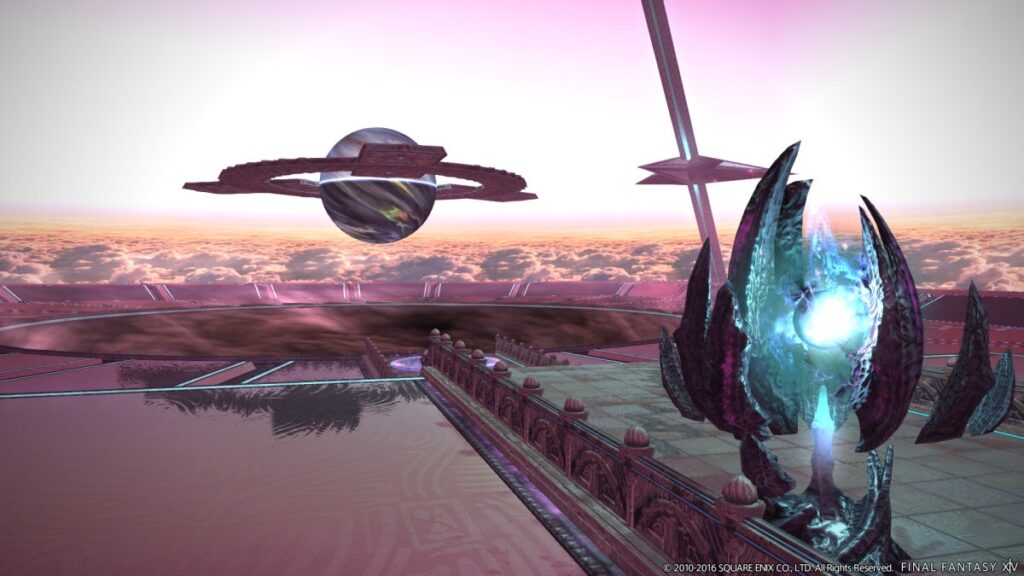
This 24-player alliance raid is known as The Wiping City and that says it all. All encounters are difficult, but it’s the Ozma fight that steals the show.
It is hard to keep an eye on mechanics when you are fighting against a geometrical form. The boss starts as a sphere and changes into a cube and a pyramid throughout the encounter.
Players are in constant motion as they must move away from the group, stack, and dodge attacks. A DPS check phase keeps things interesting. The mechanics hit increasingly harder as the fight drags on.
The Royal Menagerie
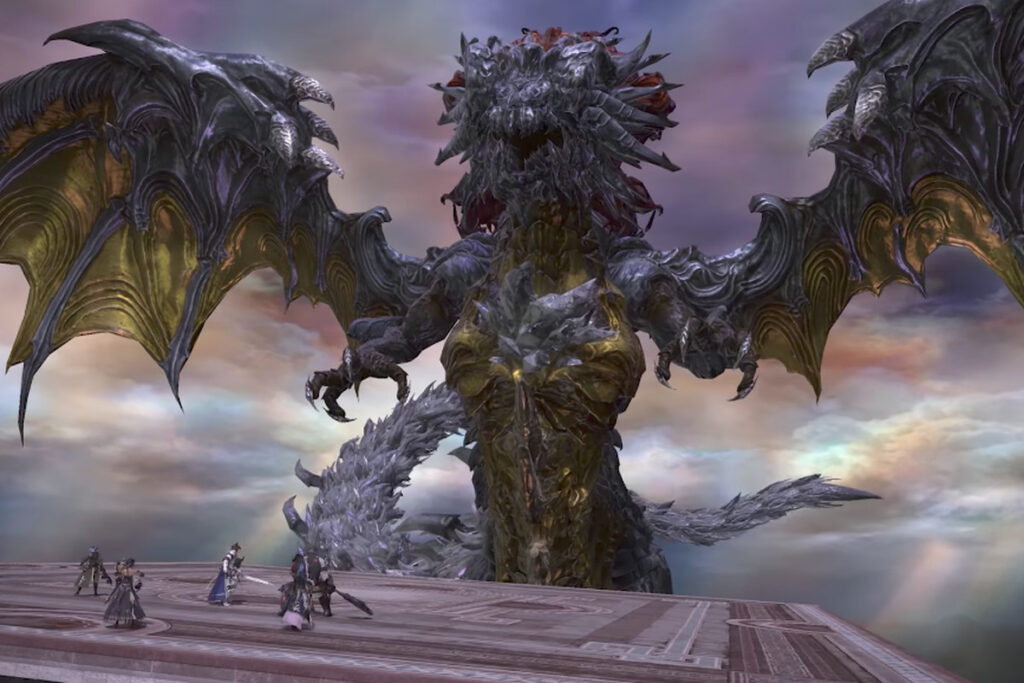
The Royal Menagerie Trial concludes the Stormblood story with one unforgettable fight. The encounter is available in Normal and Extreme modes. Extreme is, of course, harder, but players agree that the Normal version is more challenging than others in this category.
Shinryu has attacks that can knock players off the platform and that’s not even half of it. The fight can get confusing as there are times when you need to stand in certain areas and times when you need to avoid those. The ground AOEs that leave small safe zones coupled with adds test the players’ awareness.
The Unending Coil of Bahamut (Ultimate)
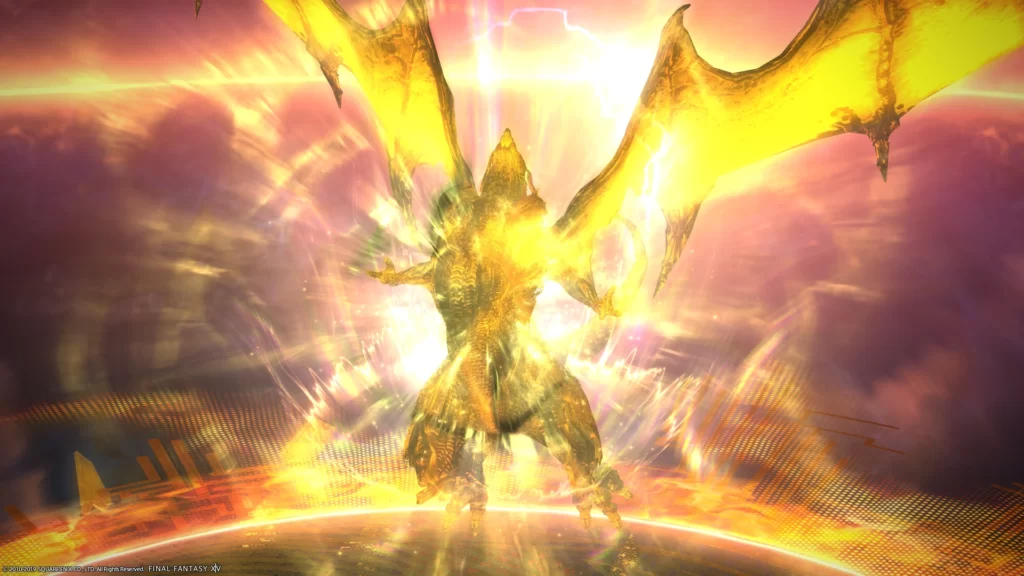
The time limit for this encounter is 90 minutes, but you only have 14. That’s when the hard enrage happens. The “good” news is that The Unending Coil of Bahamut has five phases and we all know how time flies when you have fun.
There’s a lot of fun to be had here as we face Twintania, Nael Deus Darnus, and Bahamut. In between positioning and watching out for what the boss says – clues to the next attack are hidden in its dialogue lines – there are so many mechanics that can kill you on the spot.
The Weapon’s Refrain Ultimate
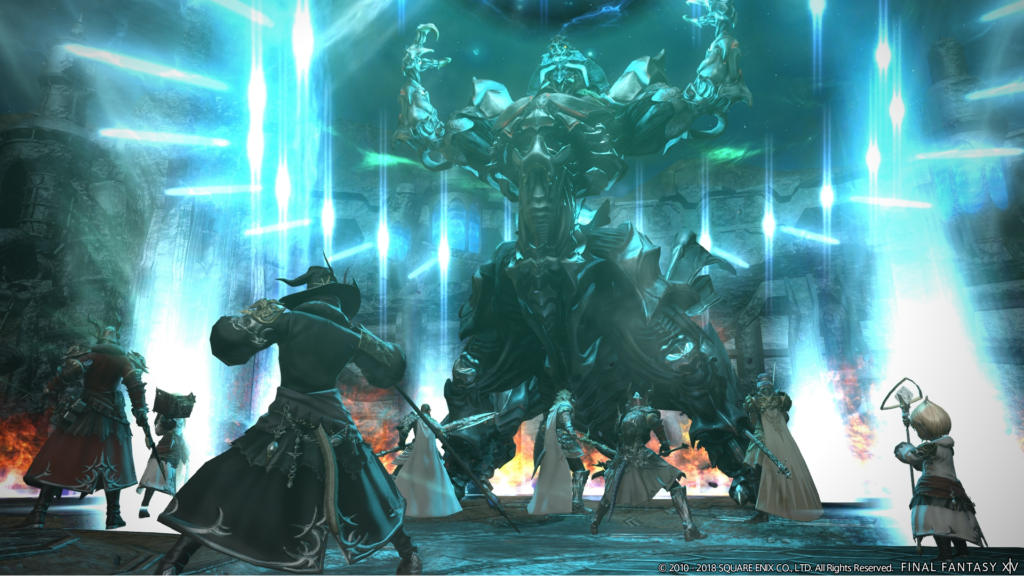
This Stormblood encounter is sometimes called UwU. However, there is nothing cute about it. On the contrary, this is one of the most terrifying encounters that the player base has ever seen.
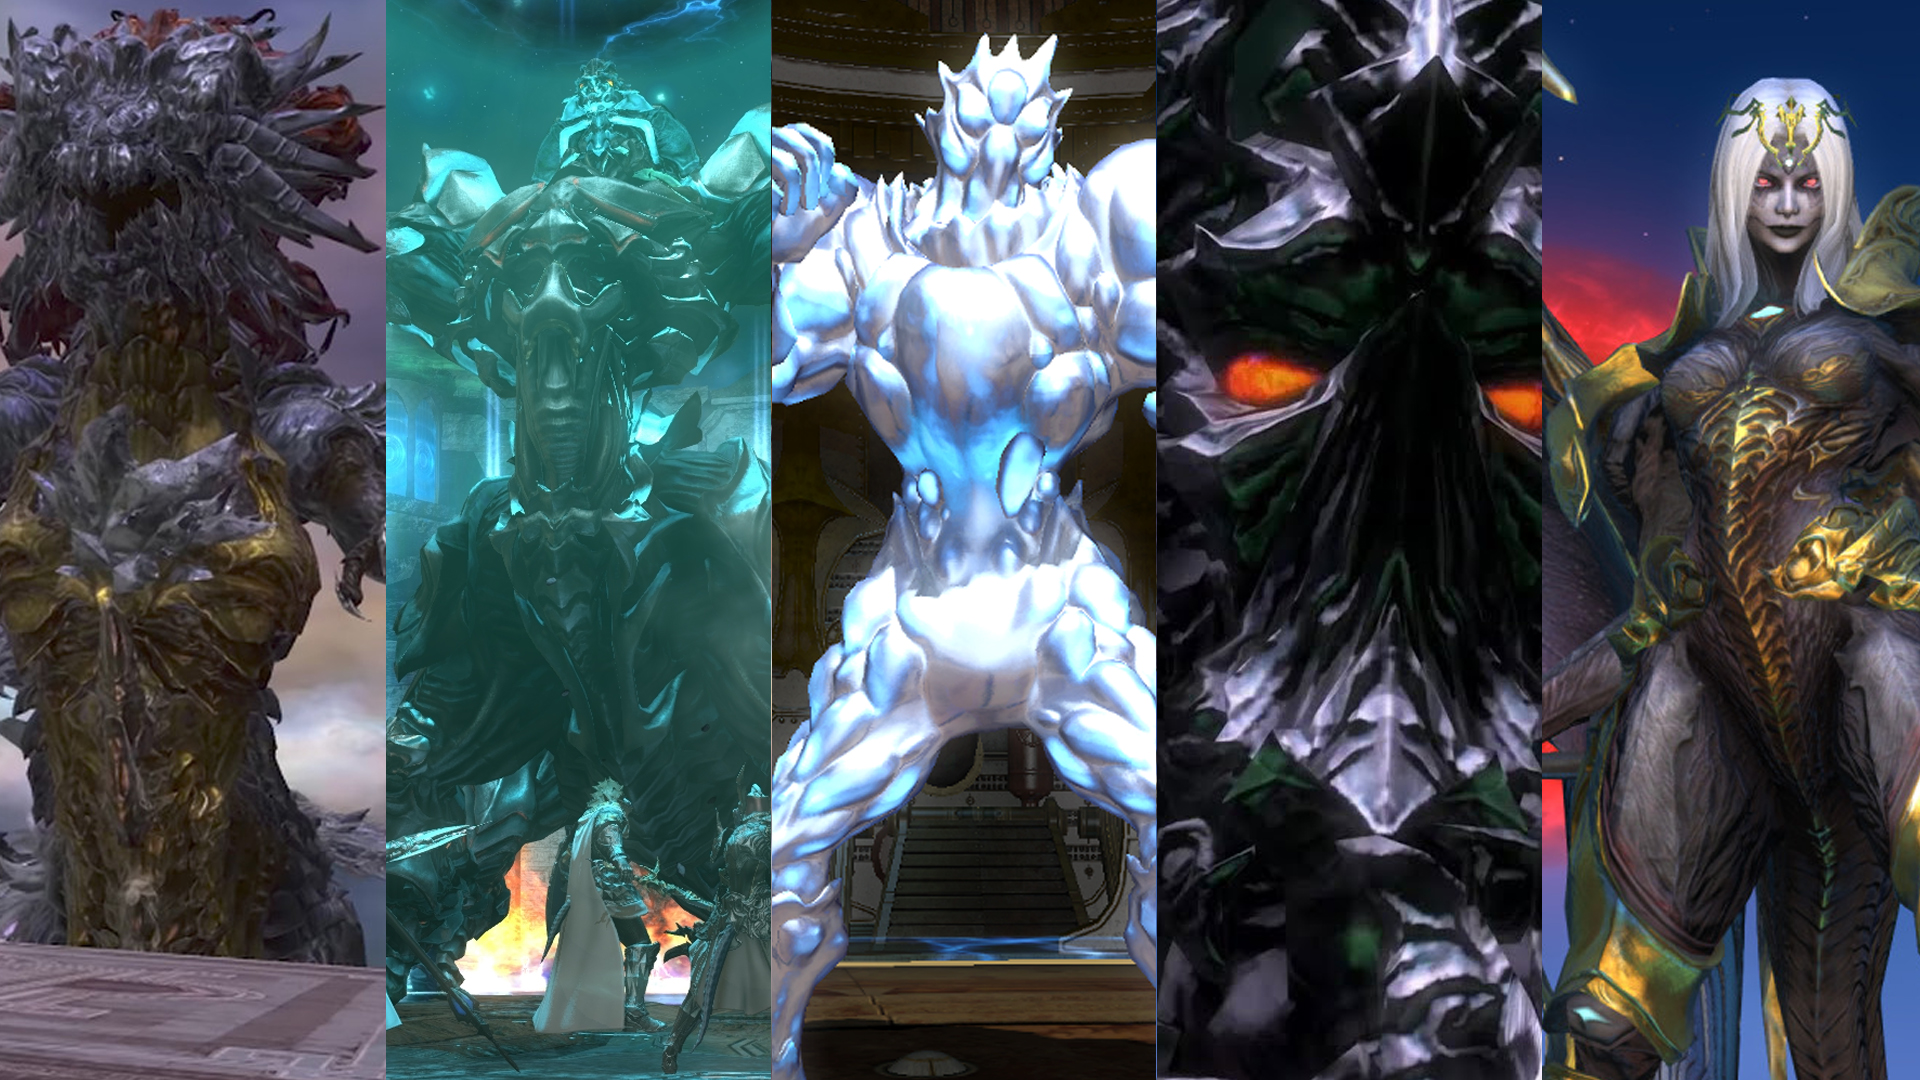
For starters, the cast is impressive. Players face Garuda, Ifrit, Titan, Lahabrea, and the Ultima Weapon in one epic fight. The mechanics are extremely hard, but the strategy is flexible making the fight – design-wise – one of the best Final Fantasy XIV encounters. After an inconceivable number of wipes, each group will find out what works best for them.
Alphascape V4.0 Omega 12 Savage
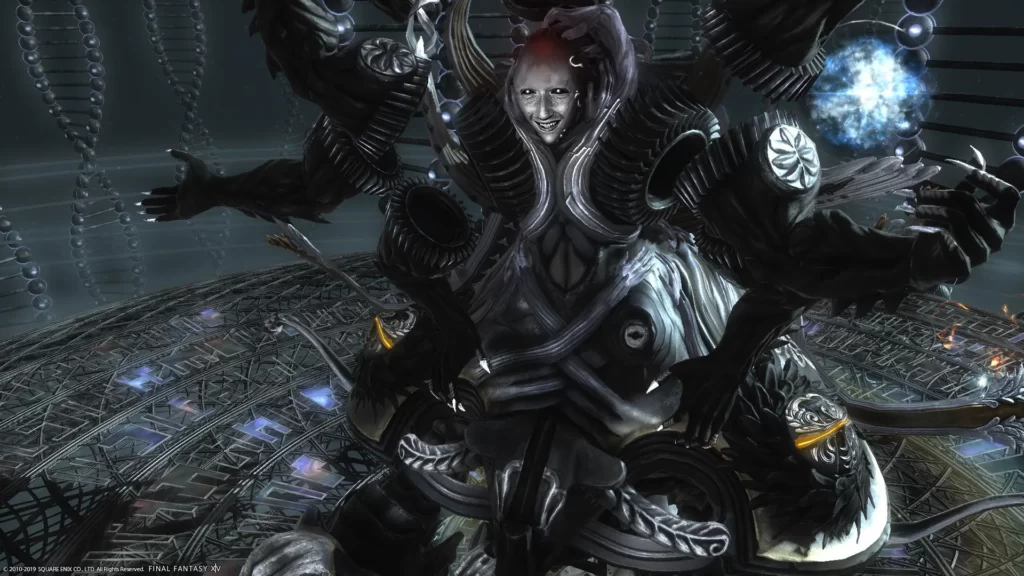
Also known as Omega 12 Savage (O12S), this last raid of Stormblood ends the Omega raid series with a bang. The raid deals with two bosses and their combos of devastating attacks. On top of that, it’s possible to fall from the platform.
Healers can resurrect, if they catch a break, that is. Between shielding the group from group-wide AOEs and keeping the tanks alive, there’s not much time to bring back the fallen. This fight is intense and nerve-wracking.
Eden’s Verse: Refulgence Savage
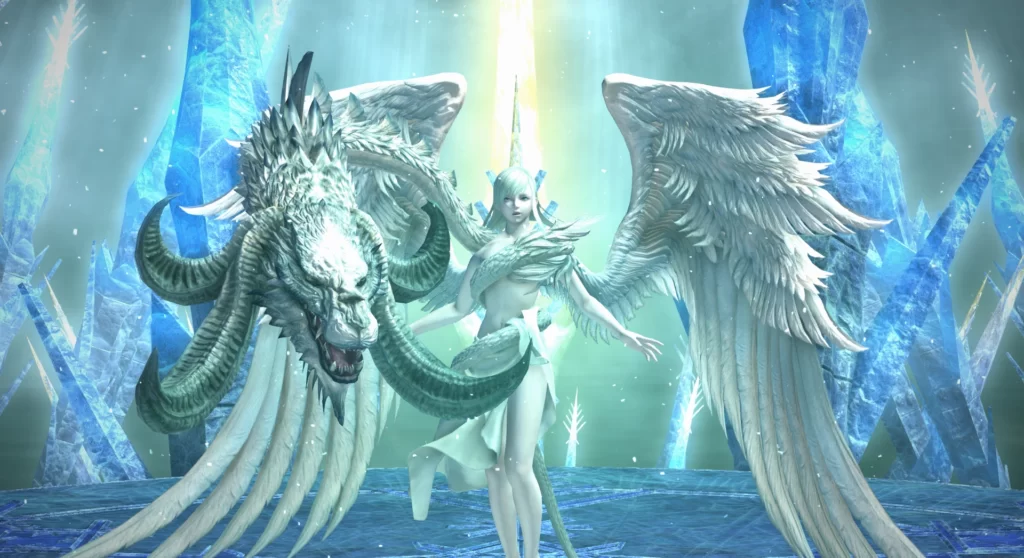
You know the encounter is no joke when the YouTube movies explaining the tactics are almost half an hour long. It’s a fight that tests players’ awareness to the maximum. There are so many mechanics to deal with at the same time and that’s not even half of it.
In addition to moving, watching your debuffs, and looking out for colored mirrors, this encounter has complex mechanics. It’s not just about standing in the right place, it’s also about quick thinking. On top of that, the Savage difficulty leaves no room for slacking.
Eden’s Verse: Iconoclasm Normal
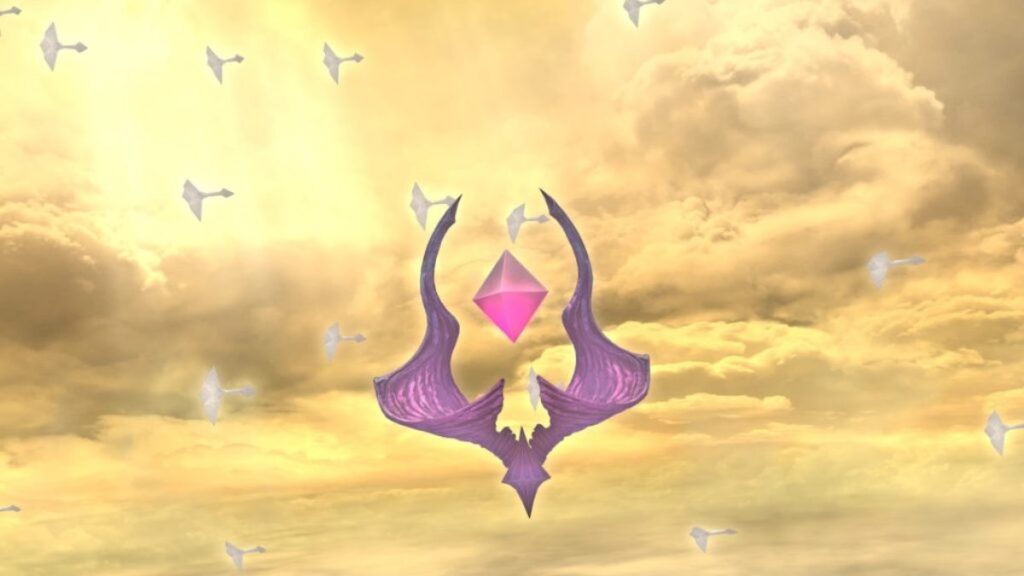
Now you’re raiding with portals! Throughout the encounter, portals spawn and shoot columns of birds that you need to avoid. The trouble is that birds enter one portal and go out through another. You need to quickly identify the bird-shooting portals and move out.
Now, if that was the only mechanic to deal with it the situation wouldn’t be so bad. As you can imagine, there are more nasty things that can happen to you, including getting knocked off the platform. We’ve also got an add phase that is a DPS race.
The Seat of Sacrifice
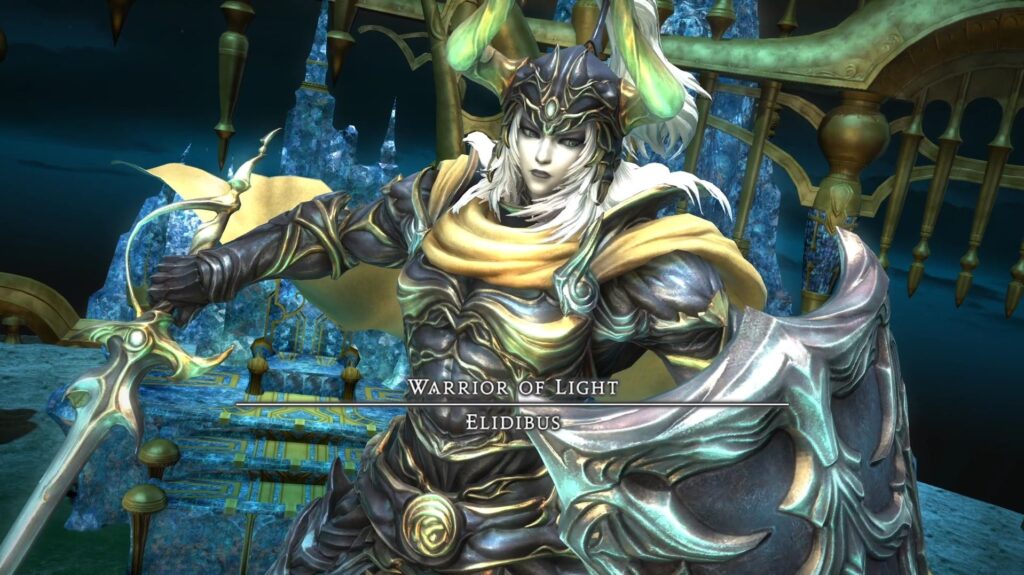
The Final Fantasy XIV designers made one of the hardest Normal encounters and, to make sure everyone will appreciate the work, they made it a Main Scenario Quest trial.
The fight against Elidibus, the Warrior of Light, is not long but it’s filled to the brim with mechanics. Players must be quick as there are times when they need to move and times they need to stand still.
The fight gets interesting when the boss reaches 50% HP. It starts with an Active Time Maneuver that must be successfully completed by all players, otherwise, it’s a wipe. The fight continues with even more mechanics.
The Puppet’s Bunker – Heavy Artillery Unit
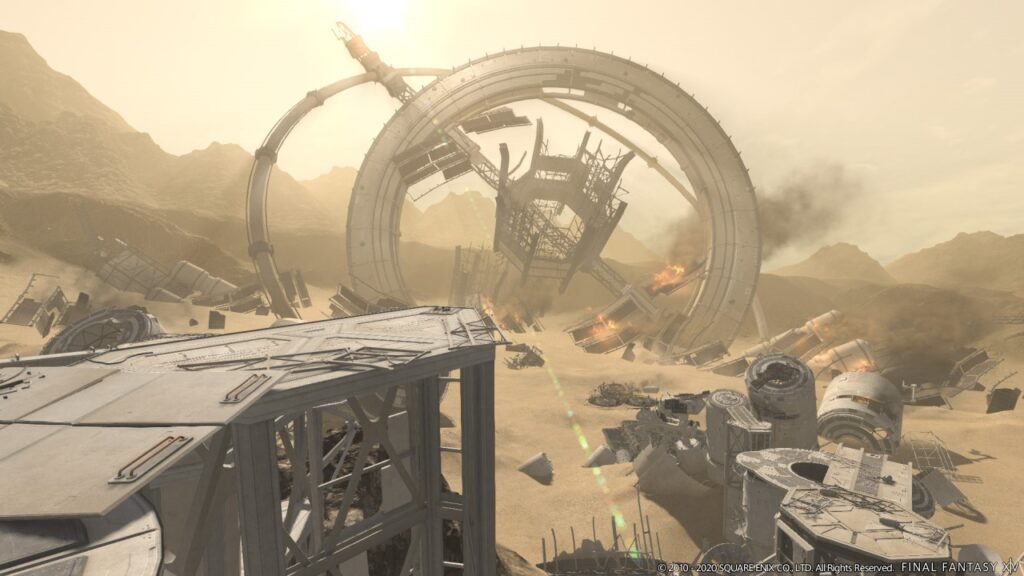
It’s funny how the people that created this encounter conceptualized some of the most complex alliance raid tactics but didn’t bother giving the boss a specific name.
The Heavy Artillery Unit encounter starts nice and easy with familiar mechanics. And then the pods appear. Clues to the pods’ attacks are on the screens that surround the area, so that’s one more thing to pay attention to. Overlapping attacks don’t leave too much room to work with and, if you miss the safe zone, you are dead.

